Trending

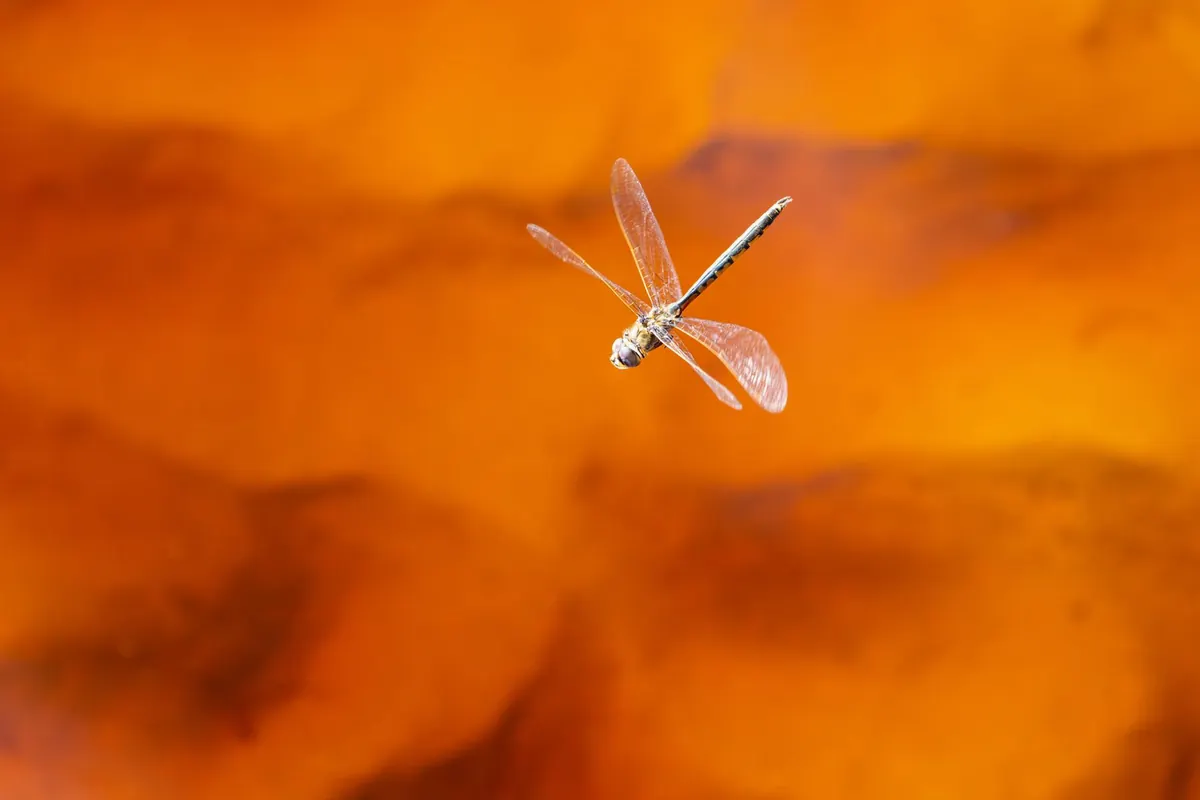
A single, well-preserved insect suspended in clear Baltic amber is one of the finest things a collector can own. It is also one of the easiest things in the hobby to fake. Modern casting resins are convincing, and plenty of honest-looking material hides a contemporary gnat pressed into softened copal. The reassuring part is that most fakes betray themselves under a loupe, a UV torch and a handful of sensible questions.
It helps to know what you are up against. Fake inclusions generally fall into four groups, and each leaves a different trace:
You do not need to work out which category a suspect piece belongs to. You need to notice the trace it has left behind.
A 10x loupe is the minimum. A 20–30x stereo microscope is better if you intend to buy seriously. Work over a white surface with bright, diffuse light — an LED panel, or a desk lamp with a sheet of tracing paper over the shade — and view the piece from both sides. Side lighting is particularly revealing, because it catches internal planes that front lighting hides.
An insect that died in sticky resin died struggling. Legs splay at odd angles, wings sit at unnatural positions, the abdomen curls, and limbs or antennae are frequently missing. There is often a faint cloudy halo where the resin engulfed the body. Many fakes, by contrast, lie flat and symmetrical, wings neatly folded, everything intact. Antennae are a useful tell: a modern insect pressed into soft resin tends to lose them, while a cast replica can produce them far too cleanly.
In genuine amber you can often trace faint flow lines bending around the insect, evidence that the resin moved past it while still liquid. A drilled-and-plugged specimen shows something quite different: a straight-sided channel, a plug of slightly different colour or refractive index, and a ring of tiny bubbles at the join. The bubbles are usually the giveaway, because they collect where resin meets resin.
Rotate a composite piece slowly under the light. A colour change, a fine line or a flat plane of bubbles will catch the light as it turns. A seam that flashes is a seam. No amount of clarity elsewhere excuses it.
Longwave ultraviolet — a 365 nm torch — makes many materials glow in ways you can see instantly in a darkened room. Amber generally fluoresces blue-white, yellow-green or greenish-blue depending on its origin. Copal tends to glow a brighter, milkier blue-white. Many plastics and modern casting resins either stay dull or glow a distinctly violet-blue. That is genuinely useful as a first screen.
Two cautions. First, some repair resins glow much like amber, so a plausible colour proves nothing on its own. Second, UV is excellent at revealing other problems — filled cracks, repairs and restored edges — so use it as an inspection tool rather than a verdict. Heat treatment and surface crazing can also change how a piece responds.
Amber is light, feels warm rather than cold, and picks up a slight static charge when rubbed on wool. Copal is softer and often shows fine surface crazing; it may feel faintly tacky. A small drop of acetone on an inconspicuous spot will make many modern resins and copal soften or go sticky within seconds, while amber generally resists. Test on the base or a rough edge, never the face, and wipe it off promptly.
Skip the hot needle test on anything you intend to keep or resell. It is destructive, it smells, and the result is rarely conclusive enough to justify the damage. Where a piece carries meaningful value, a specialist opinion is worth the trouble rather than an improvised chemical experiment.
Ask where a piece came from: the Baltic, the Dominican Republic, Chiapas in Mexico, Kachin State in Myanmar, Lebanon or Canada. Ask who prepared it, when it was acquired and whether any paperwork survives. A good dealer will tell you what they know and admit what they do not.
Be deliberate about Burmese material in particular. The trade has documented ethical and conflict-related concerns, and export rules differ from country to country. Satisfy yourself that any specimen was lawfully and responsibly sourced, and take proper advice if you are unsure of your obligations.
Then record what you have: photograph the inclusion under magnification, note the locality and the seller, and keep the label with the specimen. A well-documented piece holds its interest for decades, and it makes the next purchase easier to judge. Buy slowly, look closely, and let the doubtful ones go.
Photo: Stuart Robinson / Pexels